
This is the album I am speaking of. You can see it in its entirety here.

I start with a billfold envelope (I used 3 envelopes to make that album), it measures 4 1/8" by 9 1/2". I buy the ones that are self adhesive.


I then seal the envelope shut.

I cut it in half (4 3/4")

And that leaves me with 2 pages complete with a pocket!

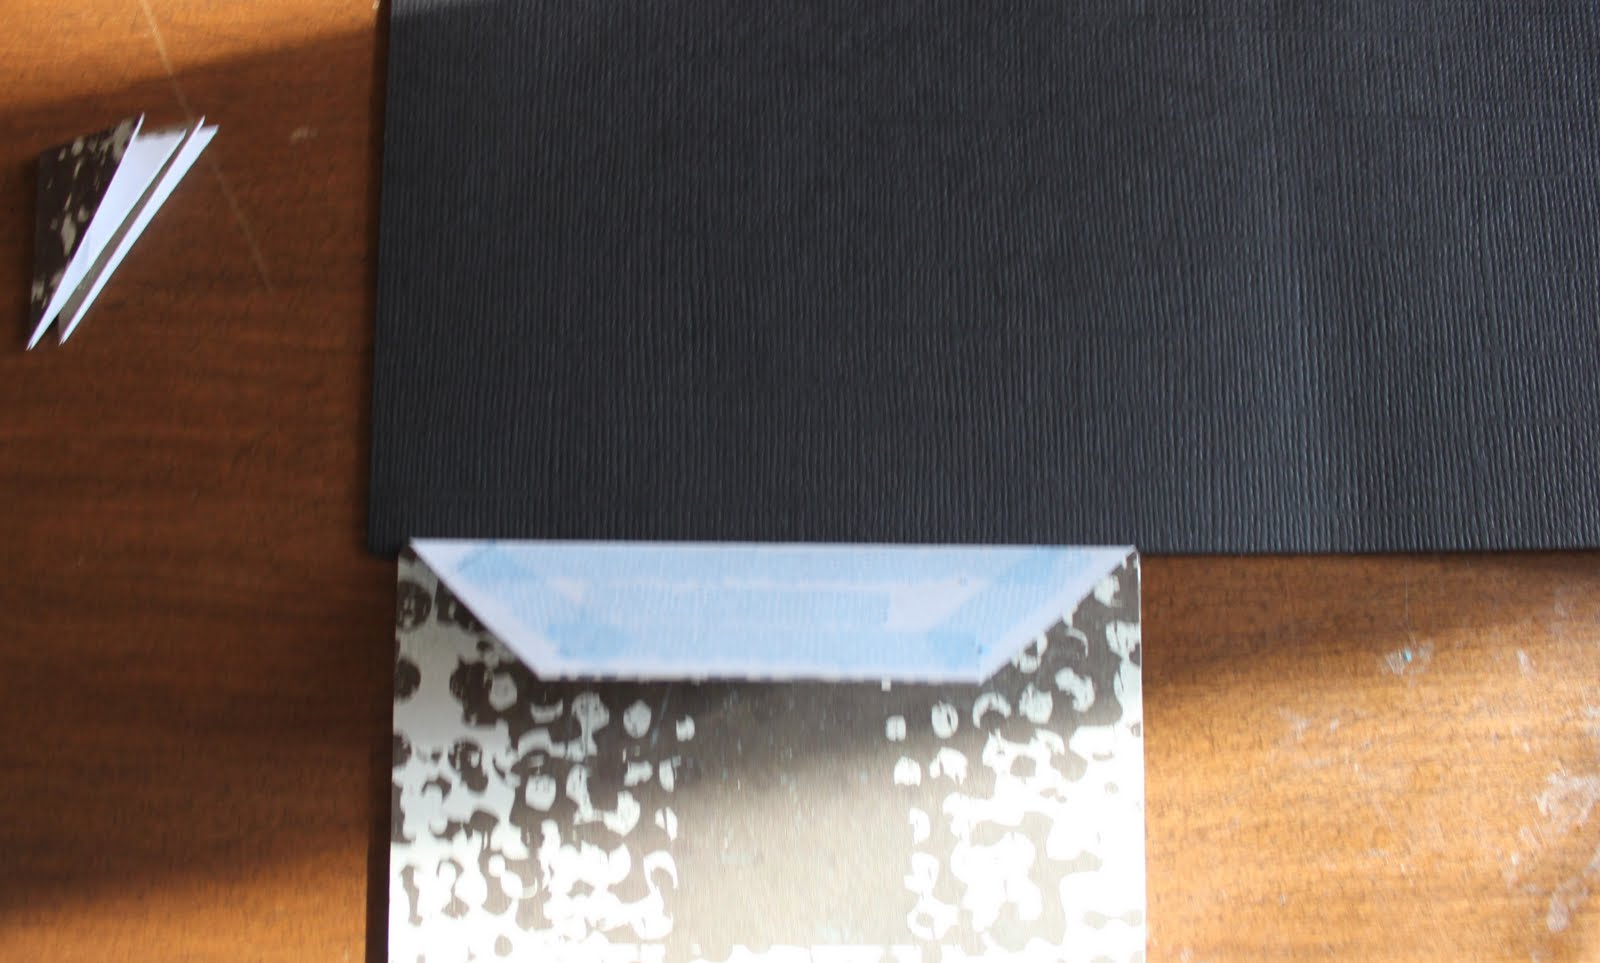
I add adhesive all over one side of the envelope.

Then glue it down to the opposite side I want showing of my patterned paper.

Then cut around the envelope as closely as I can, that finishes one side of the page. Then complete the same process on the other side of the envelope!


That leaves me with that is pictured above.

Then I freehand cut off one of the corners. Do not throw that away it is your template for the other side, and all the other pages in the album (the they match).

I then flip that corner and line it up and cut it out so both sides match.

It then leaves me with this.

Then you decide which side is the front and fold down the front piece so that it looks like this.

I add adhesive to the front piece.

Then lay the cardstock of your choice and push it in as far as it will go, Then fold the adhesive part up and press it down.

I then cut it out and fold it back down.

Then put some adhesive under the flap and glue it down, so that it will lay flat.


I then put adhesive on the top part and press it down, then cut it out as well so when finished it looks like this.

I then embellish it however I like. and that is the finished front. (I did not decorate the back for this tutorial). I also punch 2 or 3 holes depending on how I feel on the bottom of the page and put them together with binding rings, you can use ribbon, twine, fiber anything you feel like.
The tags from the inside of my album measure 4 x 3 3/4". I use 2 pieces and glue them together and put ribbon or fiber or something in between to make them easily removable. Just remember the height is dependant on what you cut off to form the folds on top. I usually measure and cut it 1/4 of an inch larger then the height.
No comments:
Post a Comment