First things about this mini, I have done paper bag mini's (lots of them) as well as purchased mini's were I had the shape and everything all there for me, all there was to do was decorate. This mini is slightly different and took me more time... I started with 3 billfold envelopes and this is what I ended up with.


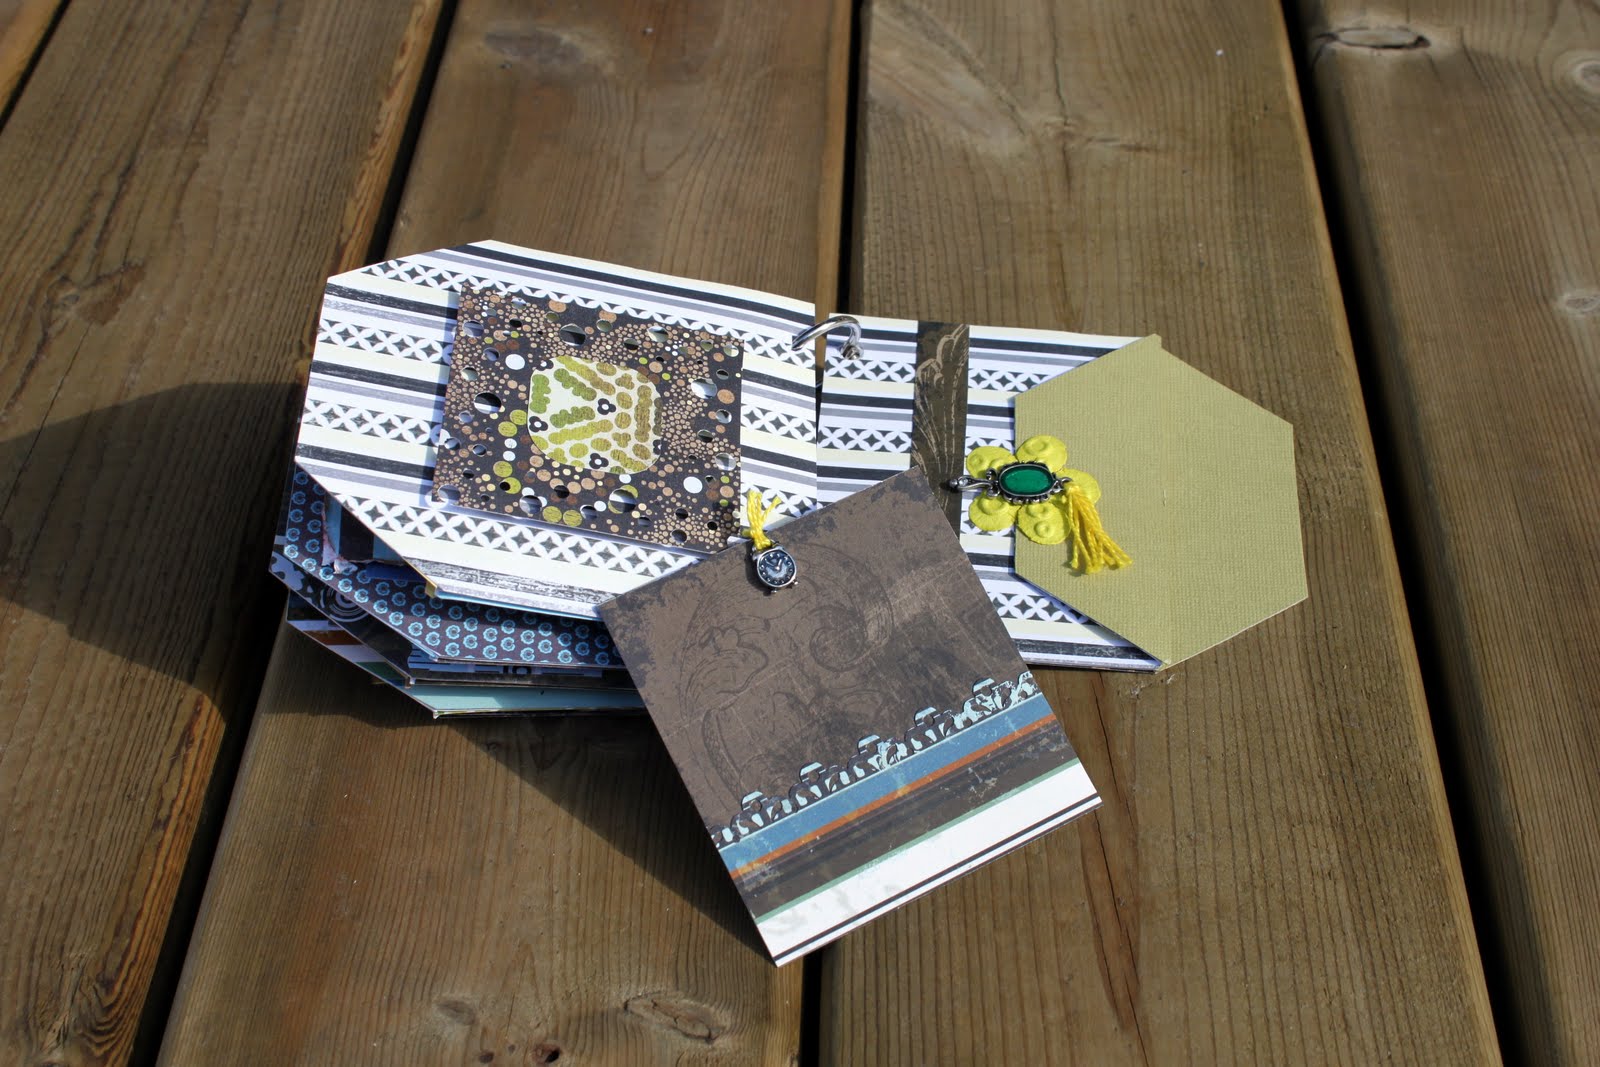
Here is it! I am so happy with the way this mini turned out it is fantastic (In my opinion). It was so fun to make! One billfold envelope gave me two pages. I may even make these to use in my LO's. Each page contains a pocket with a tag tucked inside for pictures and or journaling.

Here is the cover, with one of my handmade flowers that I made a while back. If you follow my blog regularly you would have seen them in an earlier post from me.

Here is a peak at the dimention of the page, these flowers are definitely not flat but they look oh so fabulous!

The first side of the tag with simple card stock the edges were punched using one of my recollection boarder punches.

This side is a standard square distressed and inked, I also attached it with foam pop up dots to give it some depth.

The following 2 pages, I kept them simple adding a flower from my stash, unfortunately I bought that flower before I kept track of suppliers so I can not tell you who makes them. The butterflies are metal and are made by Crafts and were actually bought at Dollarama.

Again a view to show the depth of the page, I love the browns and greens together!

Here is the first side of the tag, I used Tim Holtz distress inks to give it the color and was attempting to emboss a journaling stamp here and apparently did not allow the back round to dry enough first, I heated the embossing powder and loved the way it turned out so I kept it. Mistakes are not always a bad thing when it comes to scrapbooking.

The back side of the take nice and simple with a light inking around the green patterned paper and then punched using one of my ek boarder punches.

This page I kept very simple, the striped paper works well with the pp on top of it on the right hand side.

Here is the inside tag, the brads I used look like screws, then I used various other pp from the album to create the look a little distressing, inked some edges and here is the tag.

Incase you have yet to noticed the project contains mainly paper from my scraps collection and embellishments from my stash, nothing in this album was bought for this project, it was part of my goal with this one to use the things that I already own.

Shot of the depth again.

The first side of the tag kept simple with the striped pp and some distressing.

Here is that embossed stamp again, I figured since the first attempt failed. I would try this stamp again and this time it worked! I love this too!

I am slowly running out of things to tell you about this as we go. I adore the yellow and the blue contrast on this page.

The first side of the tag, a simple slightly distressed square to mount a photo on.

The back side again for a photo.

I was not sure about the colors when I first began on this page, but really like the finished product.
Here is a shot of the tag again, side one.

Side 2.
So here it is in all its glory. Hope you all enjoyed it. I loved it, and have also decided on next months mini and so stocked to get to work on that one. I hope you all will keep checking in my blog I have lots of things to show you soon new tutorials, altered items.
Happy crafting!
No comments:
Post a Comment