So what you need for this flower is...

Three circles, I used 2 inch green circles for this flower, you can use whatever you wish.
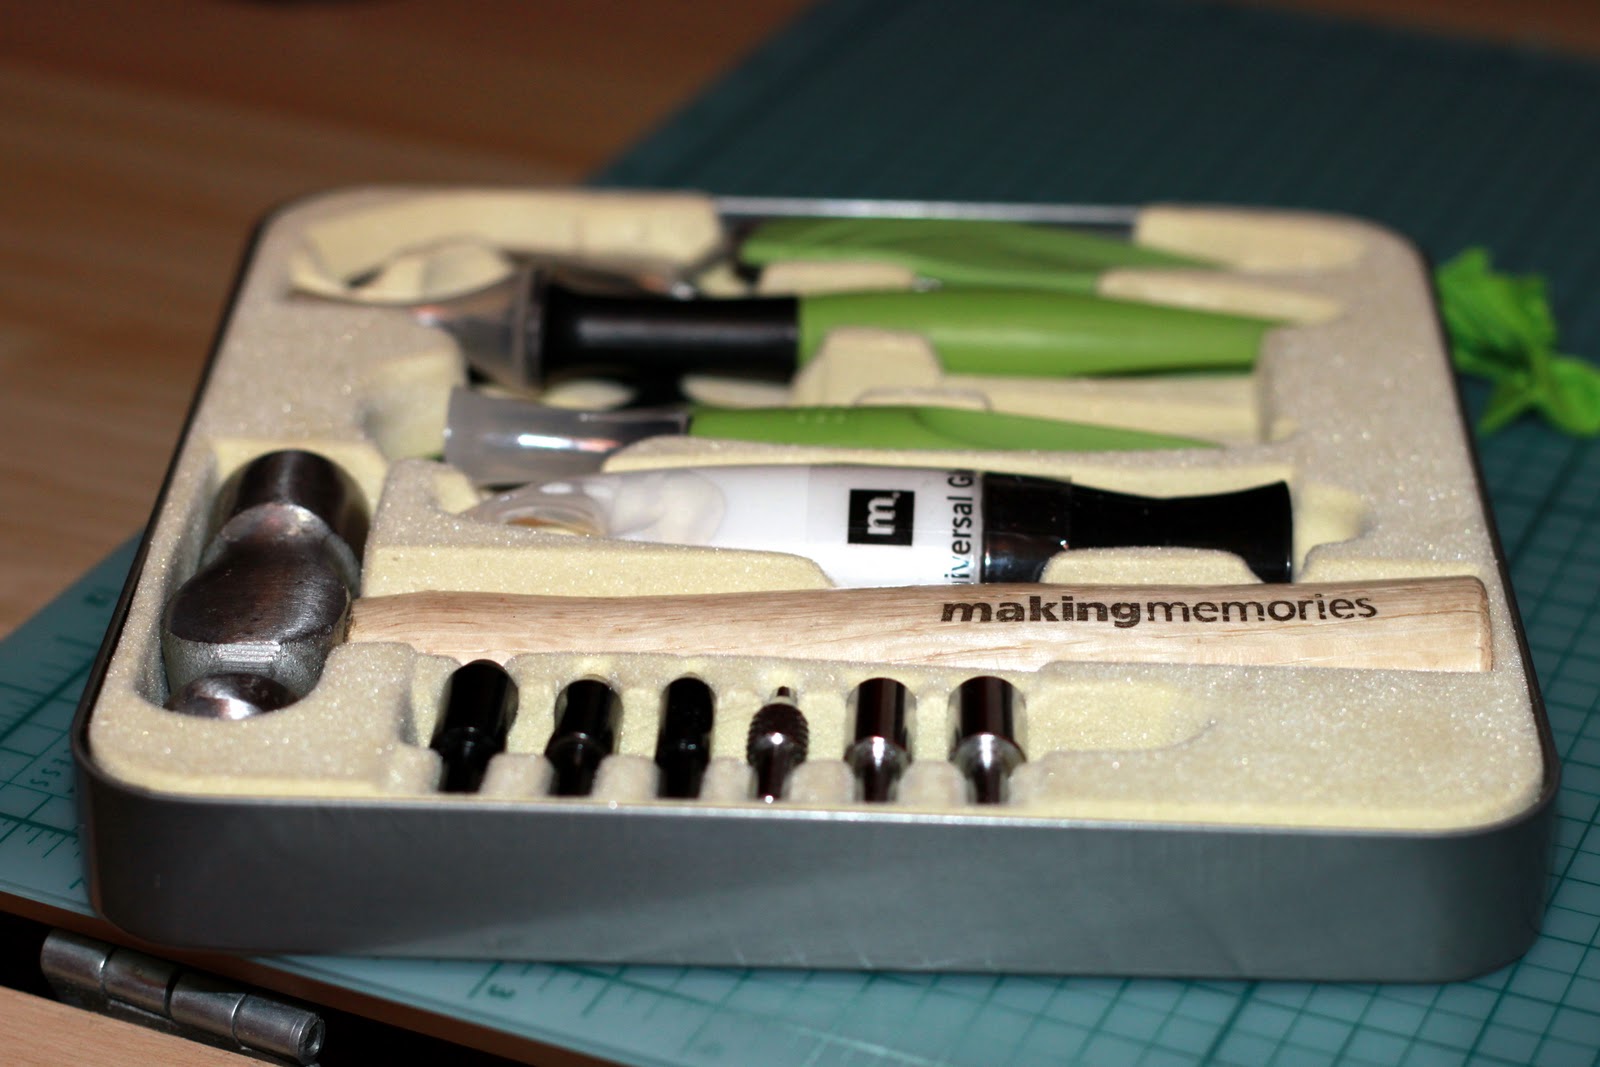
A tool kit, I used my Making Memories kit, you need the hole punch and eyelet setter and hammer.

One eyelet... it doesn't have to be a pretty eyelet as it will never been seen once you are finished, you will also need water either in a spray bottle or just wet your hands.
So lets get this starting this flower just takes 5 minutes to put together! So quick and looks so cute!

Take your 3 circles and get them damp either by wetting your hands and patting them (that is my preferred method) or with your spray bottle.

Crumple your three circles into balls and let them sit for about a minute.

Now is when you are going to need your punch and eyelet setter.

Unfold your circles back out.

Now punch a whole approximately in the center of each circle. (You could also do this before you dampen your paper I just do it now because I usually forget to do it till about this step)

Take that eyelet out..

Attach the 3 circles together with the eyelet.

Take the top circle and crumple it up fairly tight around the eyelet in standing position.

Do the same with the second circle, just not quite as tight as the first circle.

And lastly do the third one as well. Your flower will now look something like what is pictured above. Let it sit for a minute or two.

Then pull them apart just a bit, to make your flower look something like this, just play with it until you get it looking how you would like it.Let the flower sit until it is completely dry and it will get fairly hard.
To get a different effect you can ink the edges of the circle prior to starting the flower or after the flower has dried this will provide different looks to this simple flower. Also patterned paper makes it look amazing as well.
Have fun with this simple little flower!
5 comments:
These are very cool! Thanks for sharing!
Your very welcome, I look forward to doing more in the future!
Wow, that´s great. They turned out beautiful.
Love making flowers! These are fabulous! TFS!
adding this tut to my must try
Post a Comment